

Previewing with Sample Data
Default values as preview data
Section titled “Default values as preview data”The Default value you set on each variable (in the Variable tab) serves double duty:
- Design-time preview — the canvas shows the default while you’re editing, so you see realistic placeholder text instead of
{{variable_name}}. - Render-time fallback — if a variable is Optional and no value is provided at render time, the default is used.
Set meaningful defaults for all variables early in your design process. For example:
first_name→"Alex"discount_code→"SAVE20"profile_image→ a URL to a placeholder headshot.
The Variables panel
Section titled “The Variables panel”Open the Variables panel (variable icon in the left sidebar rail) to see a list of every variable in the current template.
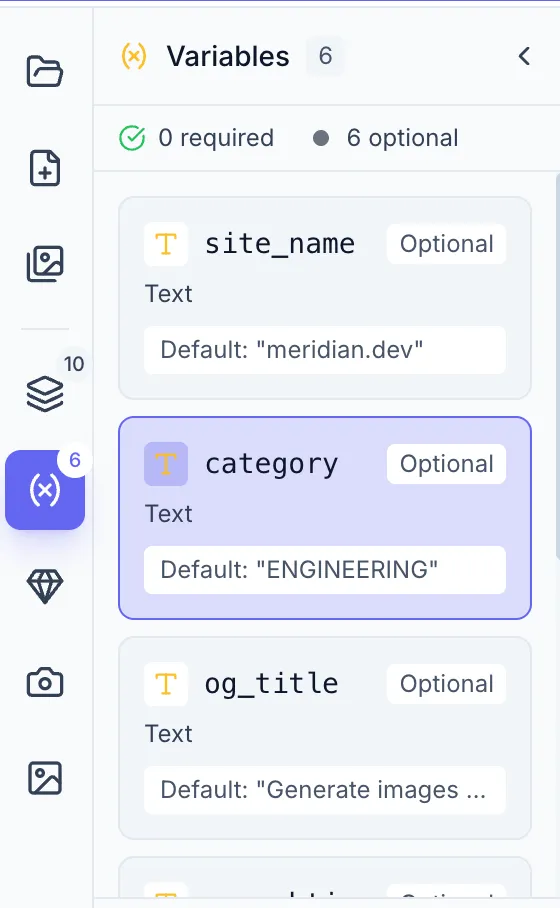
Click any row to jump to the element on the canvas and open its properties.
The Generate dialog preview
Section titled “The Generate dialog preview”The most complete preview is through the Generate dialog:
- Click Generate in the header.
- The Preview tab opens. On the left is a Variables (N) panel listing all variables with input fields.
- The fields are pre-filled with default values — change them to test different scenarios.
- Click Generate Preview to render the template with the current values and see the result immediately.
See Rendering a Single Image for the full Generate dialog walkthrough.
Quick preview tips
Section titled “Quick preview tips”- Long text: Test with both short and long values when using text elements to check that Auto-Fit or overflow settings behave correctly.
- Missing values: Leave a required variable blank in the Generate dialog — the render will use the default. Try leaving an optional one blank to confirm the fallback works.
- Images: Test with a real image URL to confirm the fit mode (Cover/Contain/Fill) looks right at the actual element size.