

Creating an Account
Registration flow
Section titled “Registration flow”-
Go to zandovi.com and click Sign up (or navigate to
/register). -
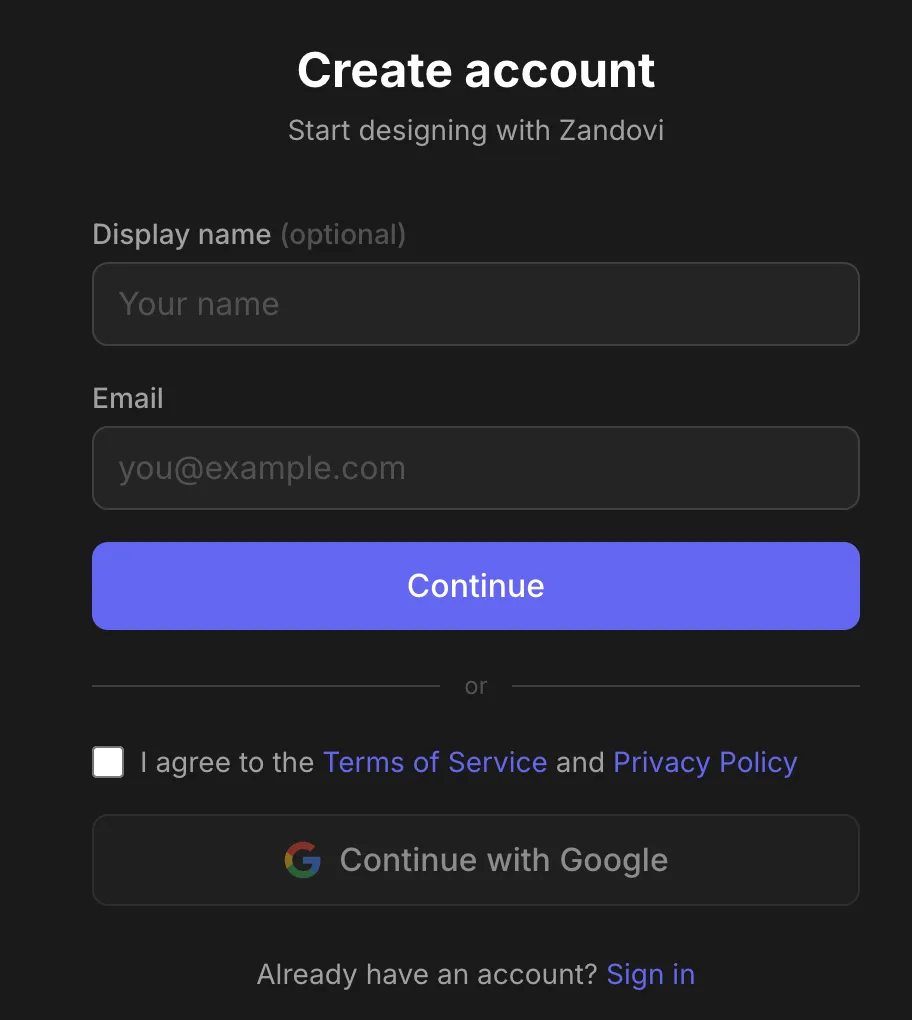
Step 1 — Enter your details.
- Display name (optional) — how your name appears to teammates.
- Email (required).
Click Continue (or agree to the terms and use Continue with Google right here to skip the email step).
-
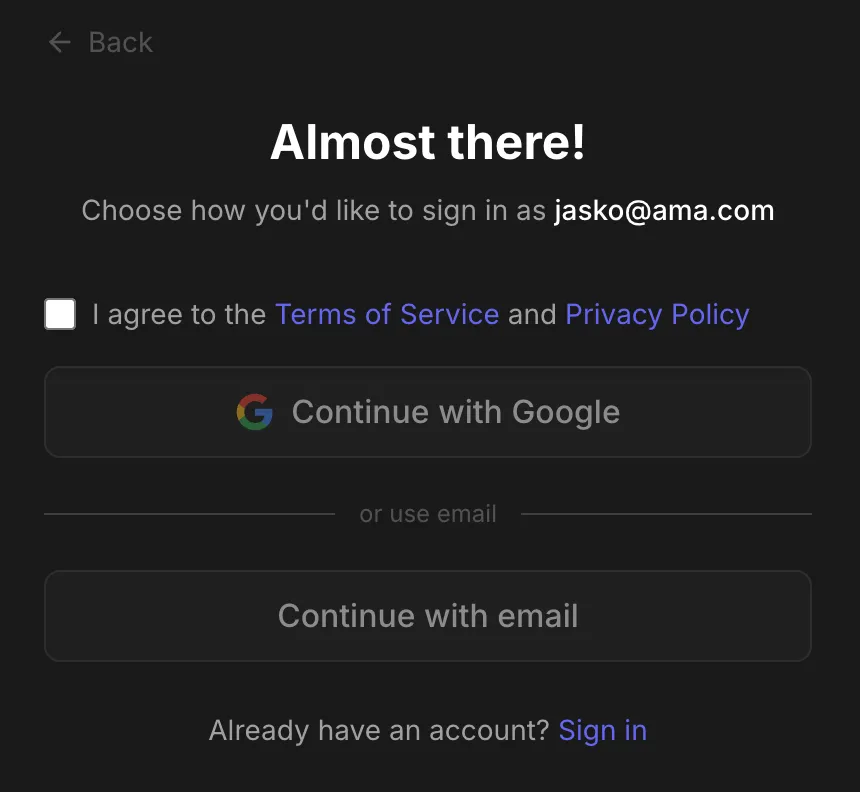
Step 2 — Choose your sign-in method. On the “Almost there!” screen, first tick the box to agree to the Terms of Service and Privacy Policy (required), then choose:
- Continue with Google — links your Google account; no password needed.
- Continue with email — sends a magic sign-in link to your email.
-
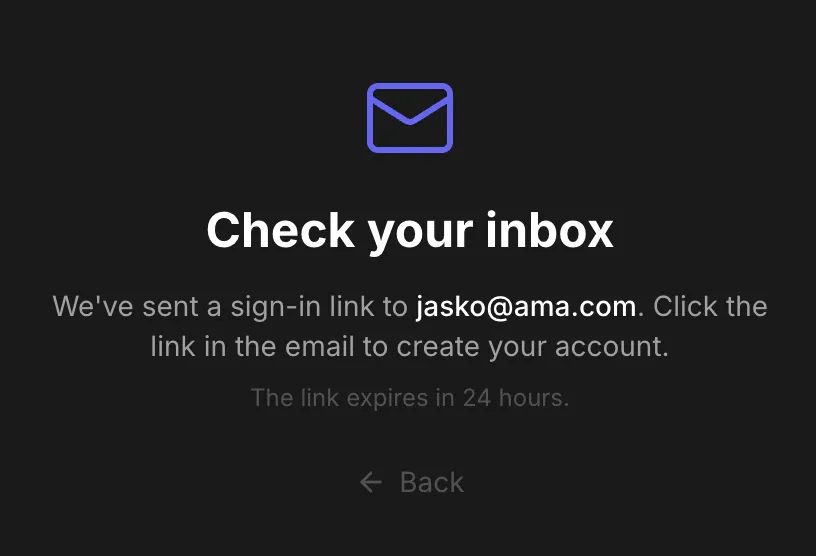
Step 3 — Check your inbox. If you chose email, you’ll see the Check your inbox confirmation. The sign-in link expires in 24 hours.
-
Click the link in the email. You’ll briefly see a “Signing you in…” screen, then land straight in the Designer. (If the link is expired or invalid, you’ll see “Sign-in failed” with a prompt to request a new one.)
Joining a team
Section titled “Joining a team”There’s no invite-code field to fill in. If a colleague invited you to a team, you’ll receive an invite link by email — open that link to start registration with your team context already applied (a “You’ve been invited to join a team” banner appears, and your email is pre-filled). After signing in you’re taken to the invitation-accept page. See Inviting Members & Roles.
Choosing a plan
Section titled “Choosing a plan”New accounts can start on the Free plan right away — you land in the Designer and can begin immediately. To pick a paid plan, open Plans from the app. See Choosing a Plan.
Already have an account?
Section titled “Already have an account?”Go to Signing In.